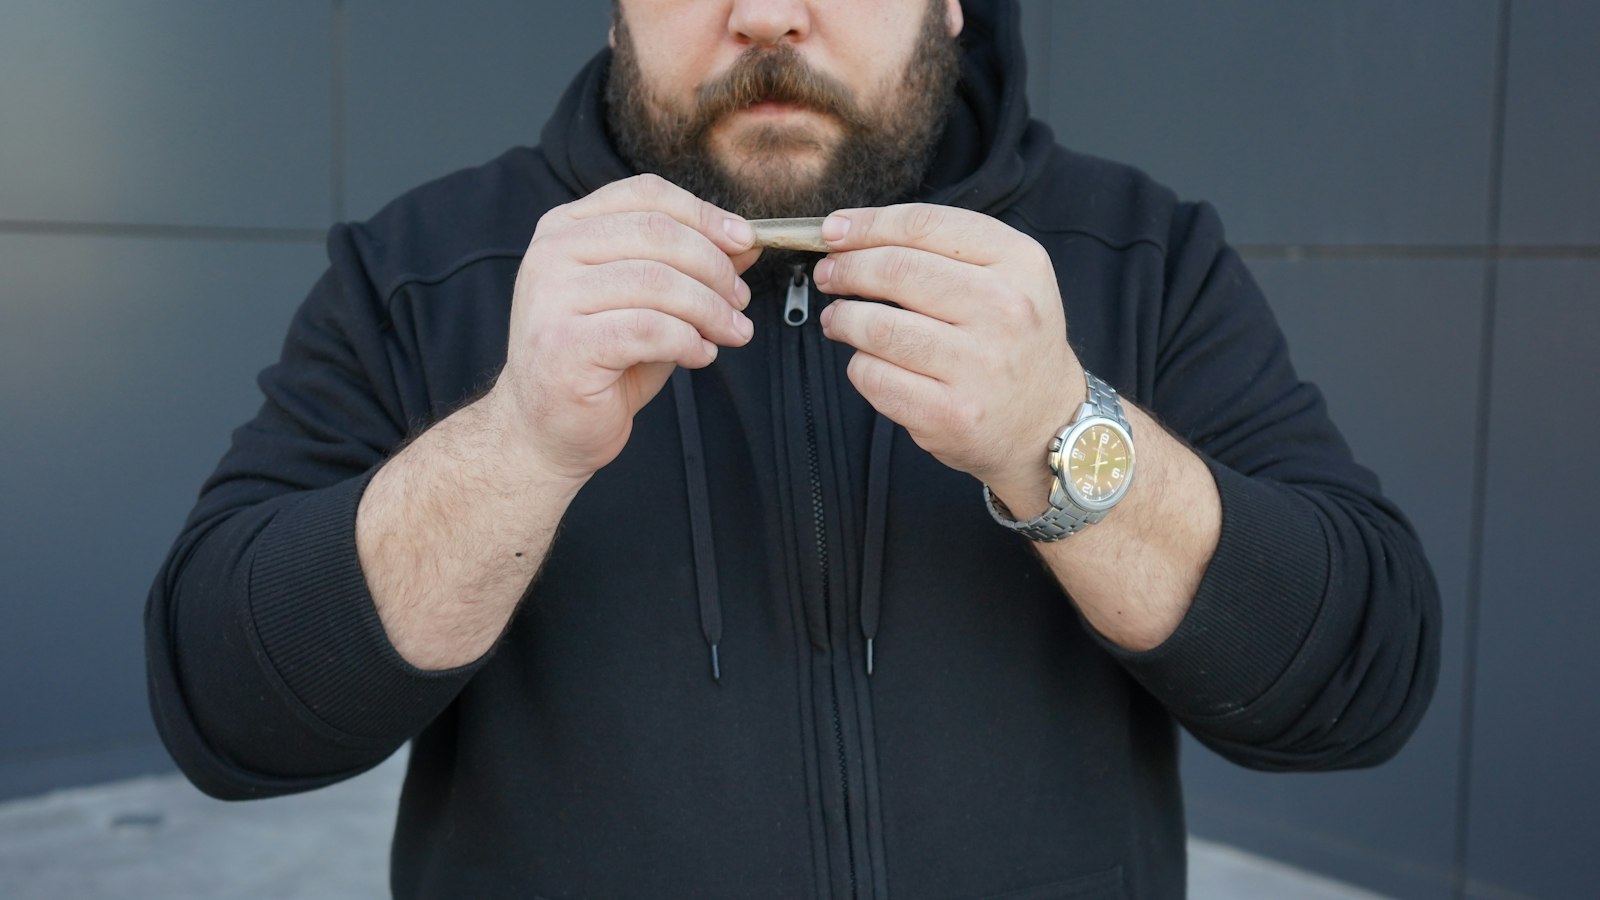


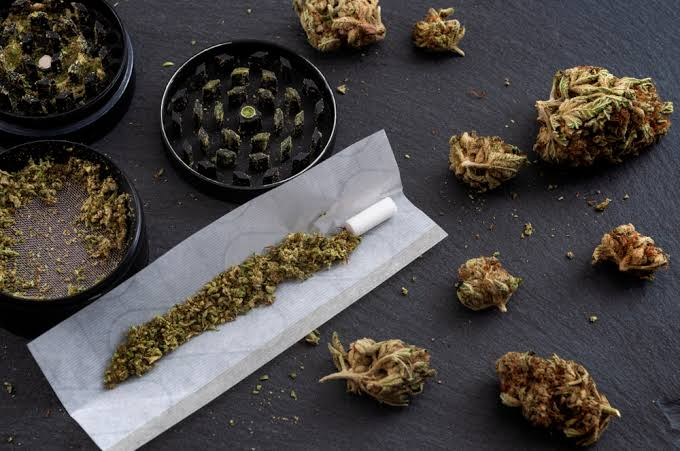
Backrolling produces a joint with one layer of paper instead of two. Less paper means less material combusting alongside your flower, which translates to cleaner flavour, better terpene expression, and a slower, more even burn. The technique isn’t complicated once you understand the three points where it diverges from standard rolling: paper orientation, sealing through the outer layer, and how you remove the excess. Get those three right and the rest follows naturally.
Most failed attempts trace back to one of those three moments. This guide works through each of them clearly so you can get to a working backroll without wasting your papers or your flower in the process.
Why the Single Layer Makes a Difference
A standard joint wraps your cannabis in two overlapping layers of paper. The seam where those layers overlap burns unevenly, and the combined paper contributes a woody or chemical flavour that’s most noticeable with higher-quality flower where the terpene profile is what you’re actually trying to taste.
Backrolling eliminates that redundancy. The finished joint has one layer of paper from end to end, which burns slower and more evenly while letting the flavour of the cannabis come through without competition. For quality fresh flower from The Purple Leaf, the difference is immediately noticeable side by side.
The trade-off is technique. You’re working with the paper inverted and sealing through the outer surface rather than the visible gum strip, which feels counterintuitive until you’ve done it a few times. After a handful of attempts, muscle memory takes over and the process becomes as natural as standard rolling.
Choosing the Right Paper
Paper choice matters more for backrolling than for standard rolling because the single-layer construction has less margin for error.
Rice papers are the goal for most experienced rollers: thin, neutral-flavoured, and slow-burning, they produce the cleanest result when the technique is dialled in. The trade-off is that they’re the least forgiving of moisture errors. Too much moisture and the paper tears before the seal sets. Too little and the gum never activates properly. Rice papers are worth learning on once you have the basic mechanics down, not for your first attempt.
Hemp papers are a more forgiving middle ground. They’re slightly thicker than rice, burn cleanly, and tolerate minor moisture calibration errors better than rice. For most people learning backrolling, hemp is the practical starting paper.
Wood pulp papers are the most stable and structurally forgiving, which makes them the right choice for complete beginners to the technique. The flavour contribution is more pronounced than rice or hemp, but the stability makes learning the mechanics significantly less frustrating.
Regardless of paper type, removing all stems during grinding is more important with backrolling than with standard technique. A stem poking through a double-layer joint is a minor annoyance. A stem through a single layer means a tear in the finished product. The Purple Leaf carries rolling accessories including papers suited to the backroll technique.
The Paper Crumple Trick
Before you do anything else, crumple your rolling paper into a loose ball, then unfold and flatten it.
This breaks the structural stiffness of the paper fibres, making the material more pliable and cooperative during the tuck. Stiffer papers resist shaping around the cannabis during the blind tuck — the part of backrolling where you’re working without being able to see the gum strip. The micro-creases from crumpling let the paper conform more naturally when you’re working by feel rather than by sight. It’s a ten-second step that solves a significant portion of first-attempt failures.
Grind Consistency
Aim for a medium-fine grind — slightly finer than you’d use for a standard joint, but nowhere near powder. Single-layer construction burns hotter than a double-wrapped joint at the same density, so too fine a grind produces a harsh, fast burn. Too coarse and the lumpy pack burns unevenly and creates weak spots in the paper.
The goal is consistent texture throughout, with no chunks, stems, or compressed clumps. A quality grinder handles this reliably. If you’re finding inconsistent texture, a two-part grind — a quick grind, then a brief second pass — usually evens things out.
Build a Larger Filter
For backrolling specifically, use a slightly larger filter tip than you would for a standard joint. The larger surface gives your fingers a stable anchor point during the blind tuck, which is where most structural failures happen. A filter that’s too small gives you nothing reliable to work against while you’re shaping the cannabis you can’t fully see.
The accordion fold is the standard construction: make three to four back-and-forth folds at one end of your filter material to create a W shape, then roll the remaining material around those folds. Three folds work well for most cannabis flower. Fewer folds are easier to draw through but filter less material. More folds increase filtration but can restrict airflow enough to make the joint difficult to smoke.
Roll the filter slightly larger than your usual size and let it spring open to its natural diameter. The slight outward tension keeps it in position in the paper without needing to be forced.

The Paper Orientation: Where Most Attempts Go Wrong
This is the step that separates a successful backroll from a frustrating pile of wasted papers, and it’s the one most guides don’t explain clearly enough.
Flip your rolling paper 180 degrees so the gum strip runs along the edge closest to you, facing downward toward where the cannabis will sit. The printed or textured side of the paper faces up. The gum strip faces down and toward you.
This feels completely backwards. It is. That’s exactly the point.
In standard rolling, the gum strip faces you at the top and you roll toward it. In backrolling, the gum faces down and contacts the cannabis directly once you tuck. You seal from the outside, which is why the strip needs to be on the inside before you start.
Wrong orientation at this stage means you’ll either seal the wrong surfaces together or seal nothing at all. Everything downstream depends on getting this right. Place your filter at one end, distribute your ground flower in an even line along the crease, and resist the instinct to flip the paper back around. Trust the orientation.
The Tuck and the Blind Seal
The blind tuck is where the technique demands the most from your hands. Without the visible gum strip as a guide, you rely on feel and the anchor of your filter to shape the cannabis and guide the paper around it.
Use your thumbs to shape and compress the material from the filter end outward. The cannabis should hold its cylindrical shape when you lift the paper — firm enough to maintain structure, loose enough that air pulls through easily. Rock-hard packing restricts the draw and burns harsh. A loose, airy pack burns too fast and canoes.
Once the tuck feels right and the paper is wrapped around the cannabis, lick the outer surface of the paper where the gum strip should be on the inside. The moisture penetrates the outer layer and activates the adhesive underneath. One even pass works for thin rice papers. Hemp and wood pulp papers typically need two light passes.
The most important calibration note: over-wetting tears thin paper before the seal forms. Under-wetting means the gum never activates and the joint falls apart during removal. Finding your moisture range takes a few attempts. Start lighter than you think you need to and adjust from there.
Environmental conditions affect this more than most people expect. A dry winter room evaporates moisture faster from the seal, requiring slightly more moisture applied quickly and immediately rolling without delay. A humid summer environment means less moisture needed and more patience before removal. The same technique that works perfectly in July may need adjustment in January.
Verifying the Seal Before Removing Excess
Before removing the excess paper, do the tug test. Gently pull on the excess flap along the seam. If the paper lifts anywhere, re-wet that specific section and give it another 30 to 60 seconds to dry before testing again. This single step prevents the majority of wasted joints.
A good seal feels like the paper is part of the joint rather than sitting on top of it. The excess flap should have some resistance when you pull it gently, not peel away cleanly. If it peels, the gum didn’t activate fully in that section. Re-wet, wait, and test again.
Three Ways to Remove the Excess Paper
Once the tug test confirms a complete seal, you have three options for removing the excess paper. Choose based on your confidence in the seal and your preference for precision versus drama.
Tearing along the seam is the safest method for most rollers. Grip the excess flap and tear slowly along the moisture line. The sealed edge acts as a natural tear guide. This method works consistently with very little risk and is the right choice until you have strong confidence in your moisture calibration.
Burning off the excess is faster and looks impressive when it works. Hold the flap away from the joint and touch a lighter flame to the paper edge. The fire travels along the moisture line and should stop exactly where the gum activated. The critical requirement is a complete, even seal — if the gum line has any gaps, the flame doesn’t stop and burns holes through your joint. Only use this method after the tug test confirms total seal integrity, and only after you’ve developed enough experience to trust your moisture calibration.
Cutting with scissors offers the most precision and lowest risk, particularly for learners. Let the seal dry completely, then cut along the gum line with small scissors. This eliminates burn-through risk entirely and is the right choice any time you want surgical control over the result.
Lighting for an Even Burn
Single-layer construction shows lighting mistakes more clearly than a double-wrapped joint because there’s less paper to absorb uneven heat distribution at the tip.
Hold the tip of the joint at the edge of the flame and rotate slowly without drawing air through it yet. This toast-first approach warms the paper around the entire circumference before combustion begins. Watch for an even glow developing around the rim. Once you see uniform warmth across the whole tip, take your first draw.
Plunging directly into the flame while inhaling causes uneven lighting that leads to canoeing — one side of the joint burning faster than the other. With single-layer construction, a canoe that develops from improper lighting is harder to recover from than it would be with a standard joint. Getting the lighting right from the first moment is easier than correcting it mid-session.
Troubleshooting Common Problems
Canoeing happens when pack density is uneven, the grind is inconsistent, or one side of the tip was lit more than the other. During rolling, redistribute your cannabis more evenly and check for lumps or compressed spots. During lighting, rotate the joint at the flame edge until the entire tip is glowing uniformly before your first draw. If canoeing develops mid-session, a tiny amount of moisture applied to the fast-burning side can slow it down while the other side catches up.
Seal failures during removal are almost always a moisture calibration issue. If the joint consistently falls apart when you try to remove the excess, you’re under-wetting. If the paper tears before you finish rolling, you’re over-wetting. Adjust in small increments. If you can’t find the right range with rice paper, switch to hemp temporarily. The thicker material is more tolerant of minor calibration errors and gives you more room to find your range.
Filter crinkles at the mouthpiece happen during the blind tuck when you apply too much pressure at the filter end or when the filter is too small to serve as a reliable anchor. Using a larger filter than usual, and applying the paper crumple trick before rolling, resolves most crinkle problems.
Tears in the single layer almost always trace back to stems in the grind. Go back to the flower and remove stems completely before grinding again. A quality grinder catches most of this, but checking the ground material before you load is worth the extra moment, particularly with sticky or dense flower.
When Pre-Rolls Make More Sense
Backrolling is worth learning, but it isn’t the only path to a clean, even smoke. A quality pre-roll from The Purple Leaf delivers consistent construction without the technique investment, and in situations where time matters, dexterity is limited, or you simply want a reliable result without setup, a professionally rolled joint is the practical choice.
The technique you develop rolling your own gives you an appreciation for what goes into a well-made pre-roll. Both paths end at the same place. The choice is about what you value in the moment.
Your First Backroll
The three things that make backrolling work are paper orientation with the gum facing down toward the cannabis, sealing by applying moisture through the outer layer to activate the gum underneath, and verifying the seal before removing the excess. The larger filter and the crumple trick solve the blind tuck challenge. Toast-first lighting prevents canoeing.
Start with a small joint and hemp papers to calibrate your moisture application and pack tension before scaling up to your preferred size. Remove all stems before grinding. Do the tug test every time until you’re confident in your sealing technique.
The first few attempts teach you the moisture range for your specific papers and environment. By your fifth or sixth backroll, the mechanics become automatic and you stop thinking about the steps. The cleaner flavour and slower burn make the learning curve genuinely worthwhile on quality flower. Visit The Purple Leaf to browse our flower and rolling accessories and find the right combination for your next session.
Shop related at The Purple Leaf: rolling papers & trays · cannabis flower · grinders
Buy pre-rolls online in Canada · Same-day weed delivery in London, Ontario on weekday orders placed before noon (12:00 PM EST).