Rolling a joint – one of the staples of enjoying weed – can be surprisingly tricky. If you’ve always turned to bowls or pre rolls and want to try this tried-and-true method for yourself, all you need is a little patience, some supplies, and these directions!
For anyone who is just starting to enjoy weed or wants to perfect their methods, here’s a guide on how to roll the perfect joint!
What Do I Need To Roll A Joint?
Before rolling your perfect joint, there are some necessary supplies you’ll need to get your hands on. Of course, you must start by choosing your favourite dried bud. Usually, one gram of cannabis can supply about three joints, so for one, a third of a gram should be enough to get you rolling.
You should also have:
- Grinder
- Rolling papers
- A filter (also known as a crutch) or stiff, thin cardboard like a business card to make one
- A rolling tray or a clean, smooth surface
Step 1: Grind Your Bud
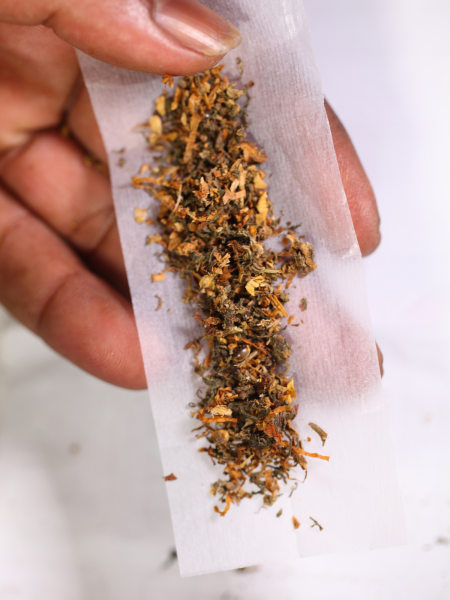
The first thing to do is grind your dried cannabis to a fine consistency; this allows more room to pack your weed while giving a consistent experience throughout the session. Finely ground cannabis lets air flow through the joint better, making the smoke smoother.
The best tool for the job is a grinder. It breaks the dense bud into fine pieces, allowing you to pack the cannabis into a joint that’s firm. Don’t worry if you don’t have a grinder – you can use your fingers to break the nugs up into smaller pieces. It might take longer, but it’s doable!
Step 2: Make Your Filter
 Your filter or crutch keeps the joint open. The filter prevents plant matter from coming through the end as you inhale. It also supports the joint to make it less flimsy.
You can buy prerolled filters, but if you need to make one, use a thick piece of paper like an index card or a business card. Cut or rip it into a small rectangular piece, folding it back and forth like an accordion. Do this until there’s an inch of the paper left, then take the remaining bit and wrap it around the folded paper to make a cylinder.
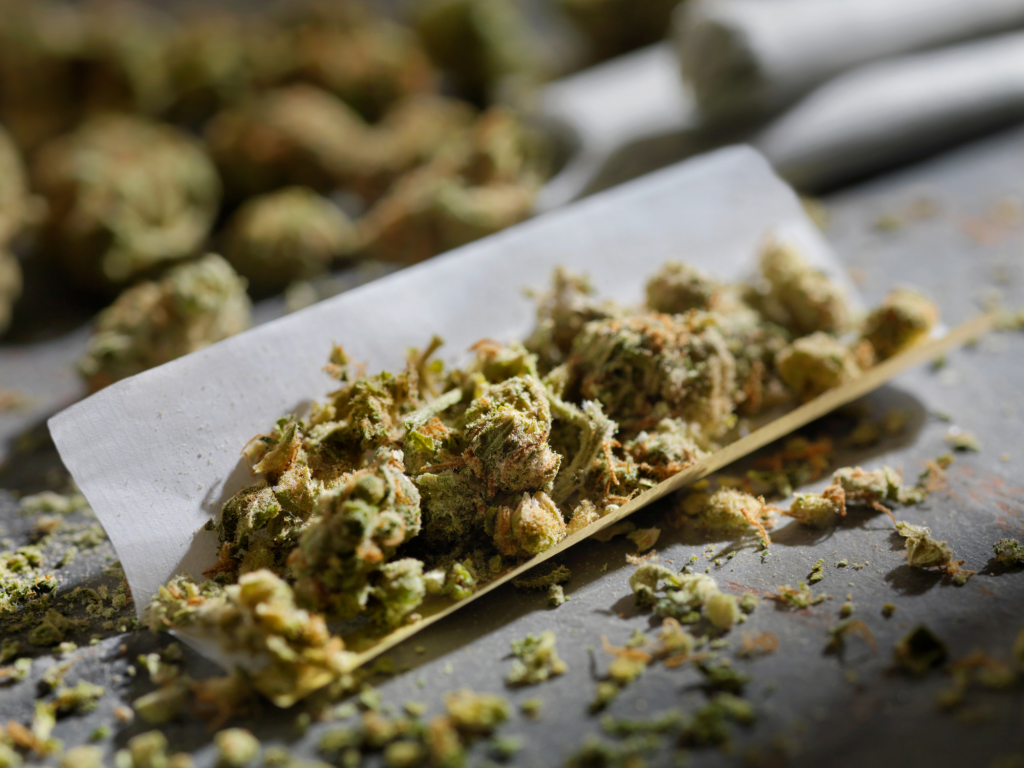
Step 3: Rolling The Joint
Now that you have all the parts together, the fun can begin! Take a sheet of rolling paper and place it on a flat surface with the adhesive side of the paper up. Place the crutch in the fold of the paper at one side, and bend the paper surrounding it into a U. Fill the middle with your ground bud and spread it into a cone shape. Keep a lesser amount of cannabis on the filter end, gradually increasing it as you move up the paper.
Take the corner of the paper with the filter and form a circle that wraps around the crutch. Continue until you’ve made the body of the joint, wetting the adhesive to seal it up.
Step 4: Pack It Up, Pack It In
 Before you close off your work of art, you must pack the joint. It ensures that you have enough ground cannabis to enjoy. Stick a slender implement like a pen in the open end and pack down the weed. Make sure you pack down the area touching the filter nice and tight; you’ll have a sturdier joint with a more even burn.
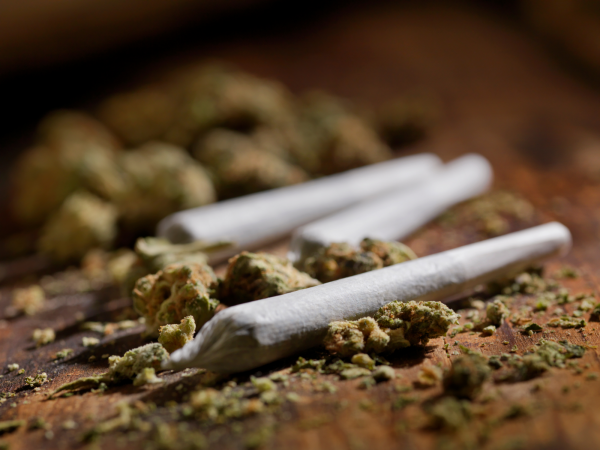
Finally, twist the paper on the open end to look like the end of a candy wrapper. It’s time to light up and enjoy your joint!