Rolling a joint is one of those skills that feels awkward the first few times and then clicks all at once. Once it clicks, it becomes second nature. The fundamentals are straightforward: a consistent grind, the right papers, and a little patience with the tuck and roll. This guide walks you through everything you need to know to go from your first clumsy attempt to a clean, even burn every time.
What You Need Before You Start
Getting the right tools together before you begin makes the whole process noticeably smoother. You don’t need much.
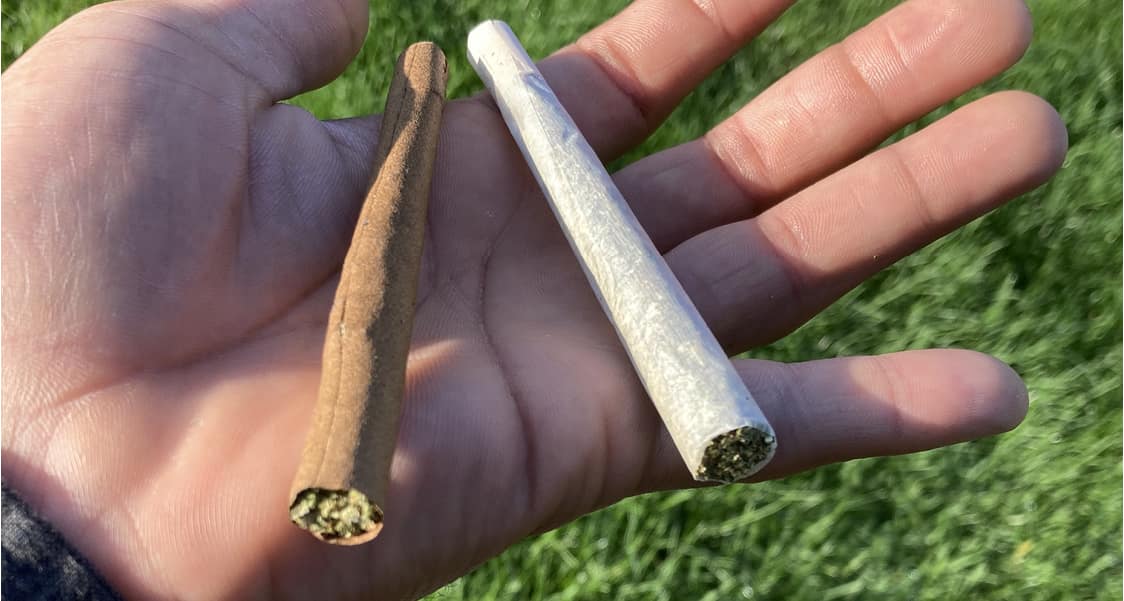
Rolling papers are the obvious starting point. Standard 1¼ size is the most common and a good all-rounder for personal joints. King size works if you’re rolling something bigger or prefer more length to work with. If you’re brand new to rolling, pre-rolled cones are worth considering — they take the rolling mechanics out of the equation entirely and let you focus on packing and sealing while you build confidence.
A grinder is essential. Breaking cannabis down by hand or with scissors gives you an inconsistent texture that leads to uneven burns and a frustrating smoke. A basic two-piece grinder does the job well. A three or four-piece grinder adds a kief catcher at the bottom, which is a nice bonus for regular users.
A filter tip goes at the mouthpiece end of your joint. It prevents loose bits of ground cannabis from getting pulled into your mouth mid-smoke, gives the joint structural rigidity, and provides a firm, comfortable spot to hold. You can buy pre-cut filter tips or cut a small strip of thin cardboard and roll it yourself. Either works fine.
A rolling tray keeps your workspace clean and catches any ground cannabis that spills during the process. It’s not strictly necessary, but it saves you from losing material and makes the whole setup feel more organized.
Browse The Purple Leaf’s accessories selection to find papers, grinders, tips, and trays to complete your rolling kit.
Step by Step: How to Roll a Joint
Step 1: Choose Your Papers
Paper size and material both affect how your joint burns and feels.
Size is the simpler choice: 1¼ papers hold roughly half a gram comfortably, which is the standard for a personal joint. King size papers give you more room to work with, which some people find easier to handle when they’re learning.
Material affects burn rate and flavour. Rice papers are thin, slow-burning, and add almost no taste of their own, making them popular with people who want to taste the flower rather than the paper. Hemp papers are slightly thicker, burn a touch faster, and have a mild, natural flavour that pairs well with cannabis. Wood pulp papers are the standard and the easiest to roll with — a good starting point if you’re still developing your technique.
Step 2: Grind Your Flower
The grind is the most important variable in how well your joint burns. You’re aiming for a medium, consistent texture — think coarse sand rather than powder or chunky pebbles.
Too fine and your joint packs too dense, restricts airflow, and burns hot and harsh. Too coarse and you’ll get uneven burning, where one side of the joint burns faster than the other — a frustrating problem known as canoeing. A good grinder handles this automatically, breaking the flower down evenly every time. The Purple Leaf carries a range of accessories including grinders suited to every budget and preference.
If you’d rather skip the grinding process entirely, pre-ground flower is also available and works just as well for rolling.
Step 3: Load Your Paper
Lay your paper flat on your rolling tray with the gummed strip facing up and running along the top edge away from you. Place your rolled filter tip at one end, then evenly distribute your ground cannabis along the length of the paper from the filter to the other end. Aim for a gentle, uniform mound. If you prefer a cone shape, make it slightly thicker toward the open end and taper it down toward the filter.
One thing to double-check before you go any further: make sure the gummed strip is at the top and facing you. If it ends up facing away, sealing becomes awkward mid-roll.
Step 4: The Tuck and Roll
Pick up the loaded paper with both hands, thumbs on the front edge and index fingers supporting the back. Using your thumbs, gently roll the paper back and forth to shape the cannabis into a compact, even cylinder. Take your time here — this step is where most beginners rush, and rushing is what causes lumpy, loose joints.
Once the cannabis is shaped, use your thumbs to tuck the unglued edge of the paper behind the cannabis, starting from the filter end and working toward the other end. This tuck forms the core structure of the joint. Once it’s tucked, slowly roll upward and let the gummed strip seal itself to the paper. Lick it lightly if needed and press gently to secure the seal.
Step 5: Pack and Finish
With the joint rolled and sealed, use a poker tool — a pen cap, a pencil, a toothpick — to gently tamp the cannabis down through the open end. You’re looking for consistent density throughout: tight enough to hold its shape and burn evenly, loose enough that you can draw through it comfortably without having to pull hard.
Twist the open end closed to keep everything in place until you’re ready to light it.

Common Problems and How to Fix Them
Canoeing (one side burning faster than the other): Usually caused by an uneven grind, air pockets in the pack, or lighting the tip unevenly. Make sure your grind is consistent, pack thoroughly during step five, and rotate the joint as you light it to get an even start before your first draw.
Too tight to draw: The joint is overpacked or the grind is too fine. Start over with a slightly coarser grind and use less material, or pack more loosely next time.
Falls apart or burns too fast: The joint is underpacked or the cannabis is too dry. Check the freshness of your flower — properly stored, fresh cannabis rolls significantly better than dried-out material. Store your flower in an airtight glass container in a cool, dark spot to maintain moisture and aroma.
Paper won’t seal: The gum strip may be dry, or you’re trying to seal in the wrong direction. Make sure you have the gummed edge at the top before you start loading, and apply a tiny bit of moisture before pressing the seal.
Losing material during rolling: This is what the rolling tray is for. Any flower that falls out during grinding or loading collects on the tray and can be scooped back in easily. Don’t skip the tray.
A Note on Rolling Machines and Cones
Rolling machines and pre-rolled cones are not shortcuts — they’re tools, and experienced consumers use them all the time. A rolling machine produces a consistently packed, evenly shaped joint every time and is particularly useful if you roll frequently or if freehand rolling is physically difficult. Pre-rolled cones remove the rolling mechanics entirely and just require you to fill and pack from the open end. Both are completely valid options, and neither takes anything away from the experience. If consistency matters more to you than the rolling ritual, go for it.
Storing Your Rolled Joints
A well-rolled joint is worth storing properly. Loose joints left in a bag or sitting on a tray dry out quickly, lose aroma, and burn harsher than they should. A small airtight doob tube or pre-roll case keeps them protected from air, light, and physical damage. Glass works well for longer-term storage. Avoid leaving rolled joints in a hot car or anywhere with significant temperature swings — heat accelerates moisture loss and dulls the flavour noticeably.
Common Questions About Rolling Joints
Is a rolling machine considered cheating?
Not at all. It’s a tool, the same way a grinder is a tool. Rolling machines produce consistent, evenly packed joints and are widely used by experienced and casual smokers alike. Use whatever gives you the result you’re looking for.
What’s the best paper for beginners?
Wood pulp papers are the easiest to handle and seal, making them a reliable starting point. Once you’re comfortable with the mechanics, experimenting with rice or hemp papers gives you more control over burn rate and flavour.
Why does my joint burn unevenly even when I pack it carefully?
The most common cause is an inconsistent grind — some chunks, some powder, resulting in uneven density throughout the joint. It can also happen if you light the tip unevenly at the start. Focus on a uniform medium grind and rotate the joint as you light it to establish an even cherry before your first draw.
How do I know if my cannabis is too dry to roll well?
If it crumbles excessively when you grind it and the aroma feels flat or dusty rather than fresh, it’s probably too dry. Properly stored flower should have a slight springiness when pressed and a noticeably fresh, aromatic smell. Fresh flower from The Purple Leaf is stored and handled to maintain quality from the shelf to your tray.
Can I roll joints without a filter?
Technically yes, but the experience is noticeably worse. Without a filter, the open end collapses as it gets soggy, loose bits get drawn into your mouth, and you lose the structural rigidity that makes a joint easy to hold and smoke cleanly. It takes ten seconds to add a filter and the difference is meaningful every time.
The Bottom Line
Rolling a great joint comes down to three things done consistently: a uniform medium grind, an even pack, and a clean tuck and seal. Get those three right and everything else follows. Give yourself a few attempts before judging your technique — every roller has a learning curve, and the gap between your first roll and your tenth is significant. Visit The Purple Leaf to pick up rolling papers, grinders, tips, and fresh flower to practice with.